
Interior Wall Framing & Insulation
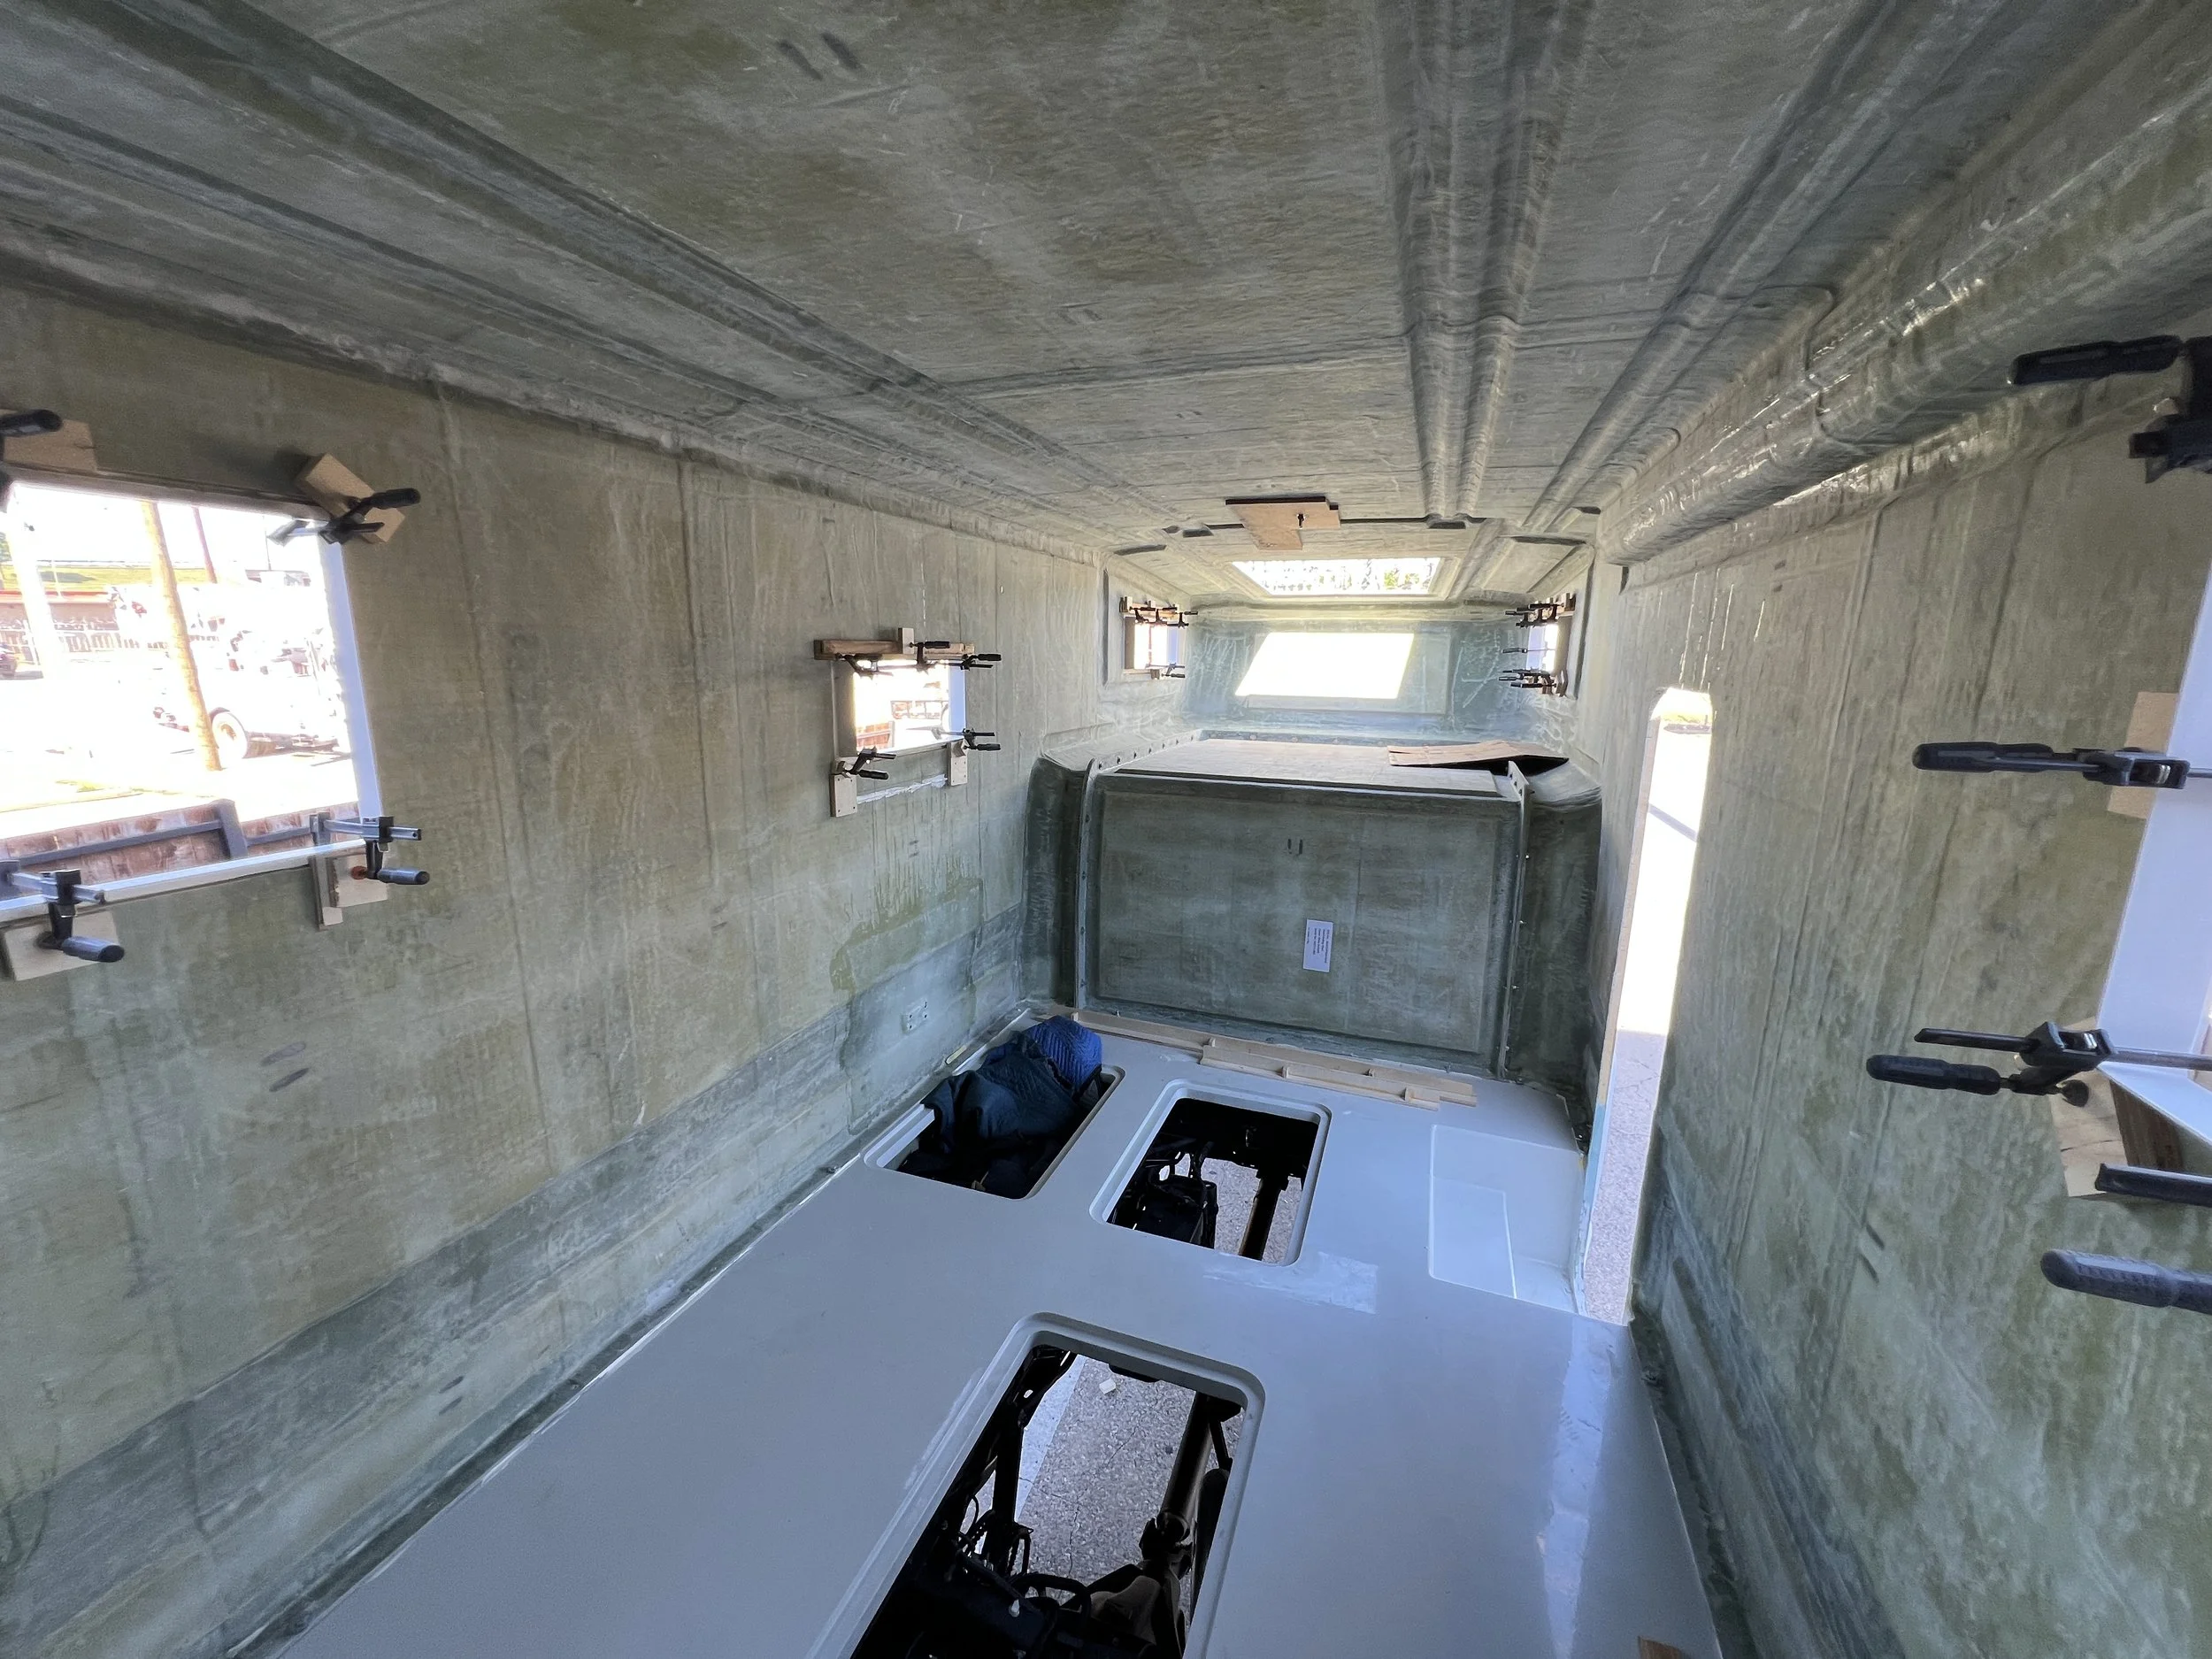

One of the most common questions we receive is how interior walls, cabinetry, and insulation are handled inside the shell. Because this platform is designed for experienced builders and confident DIYers, we intentionally provide flexibility rather than locking you into a single construction method. Below is an overview of how we approached our own build, along with guidance on alternative options.
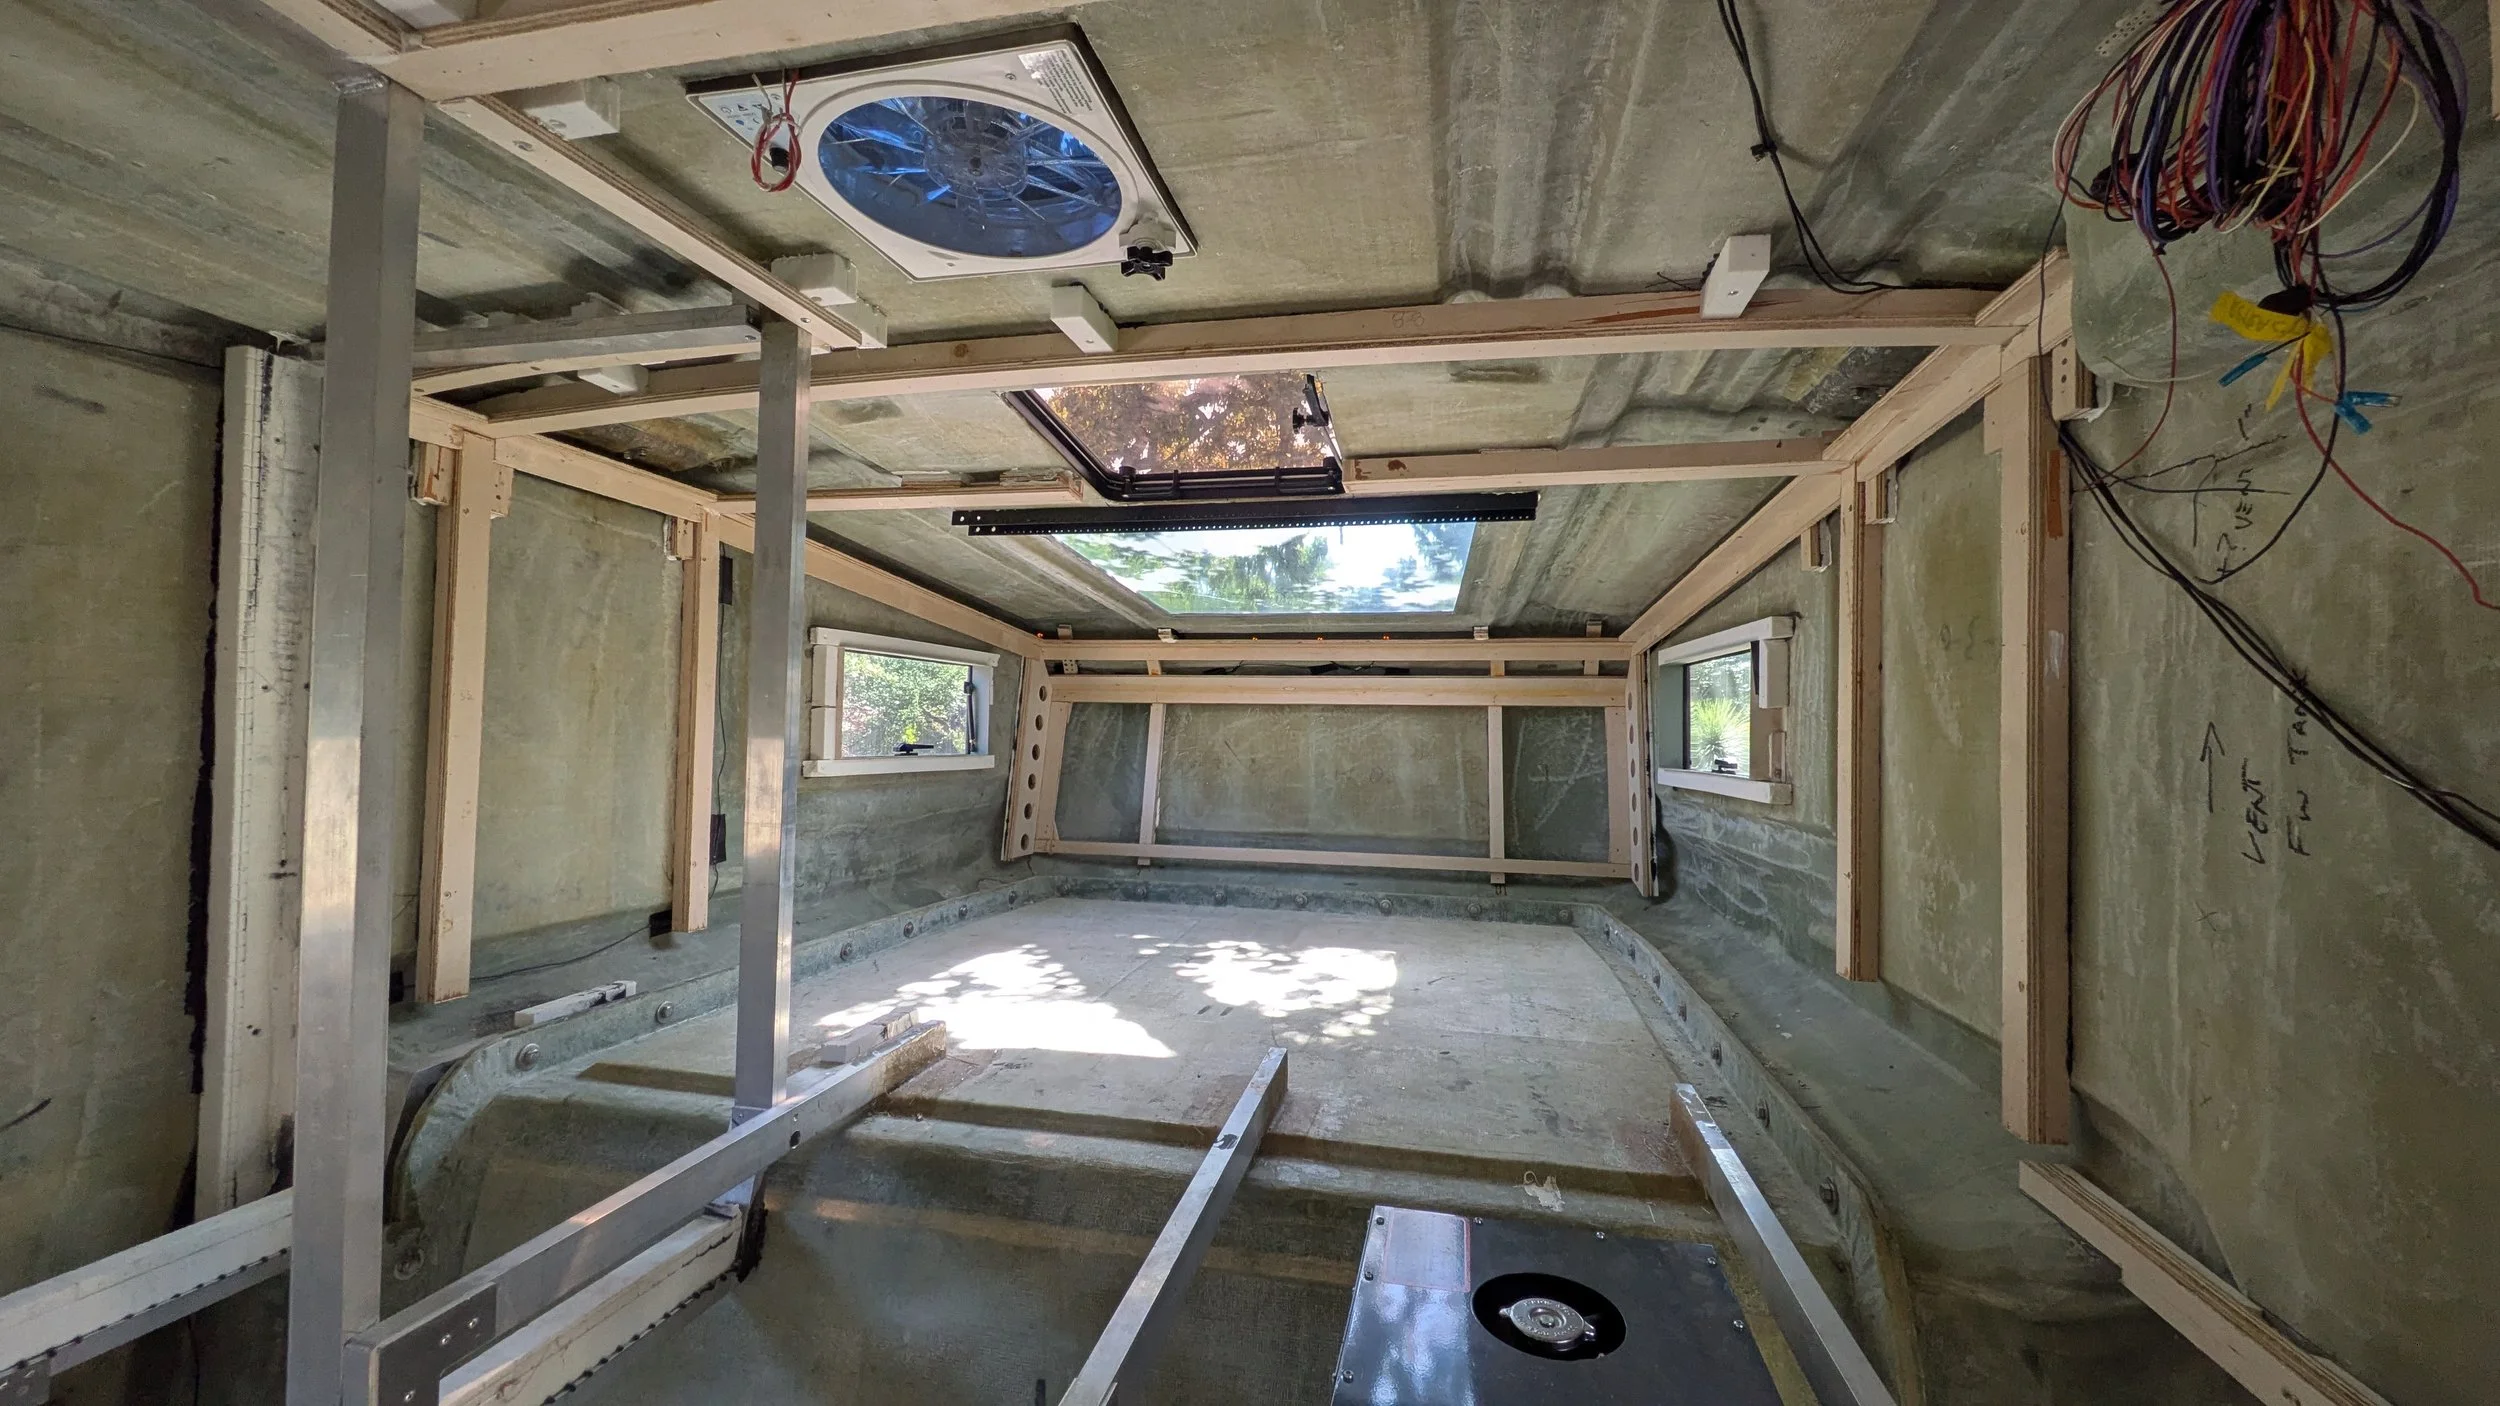
Structural Furring & Attachment Points
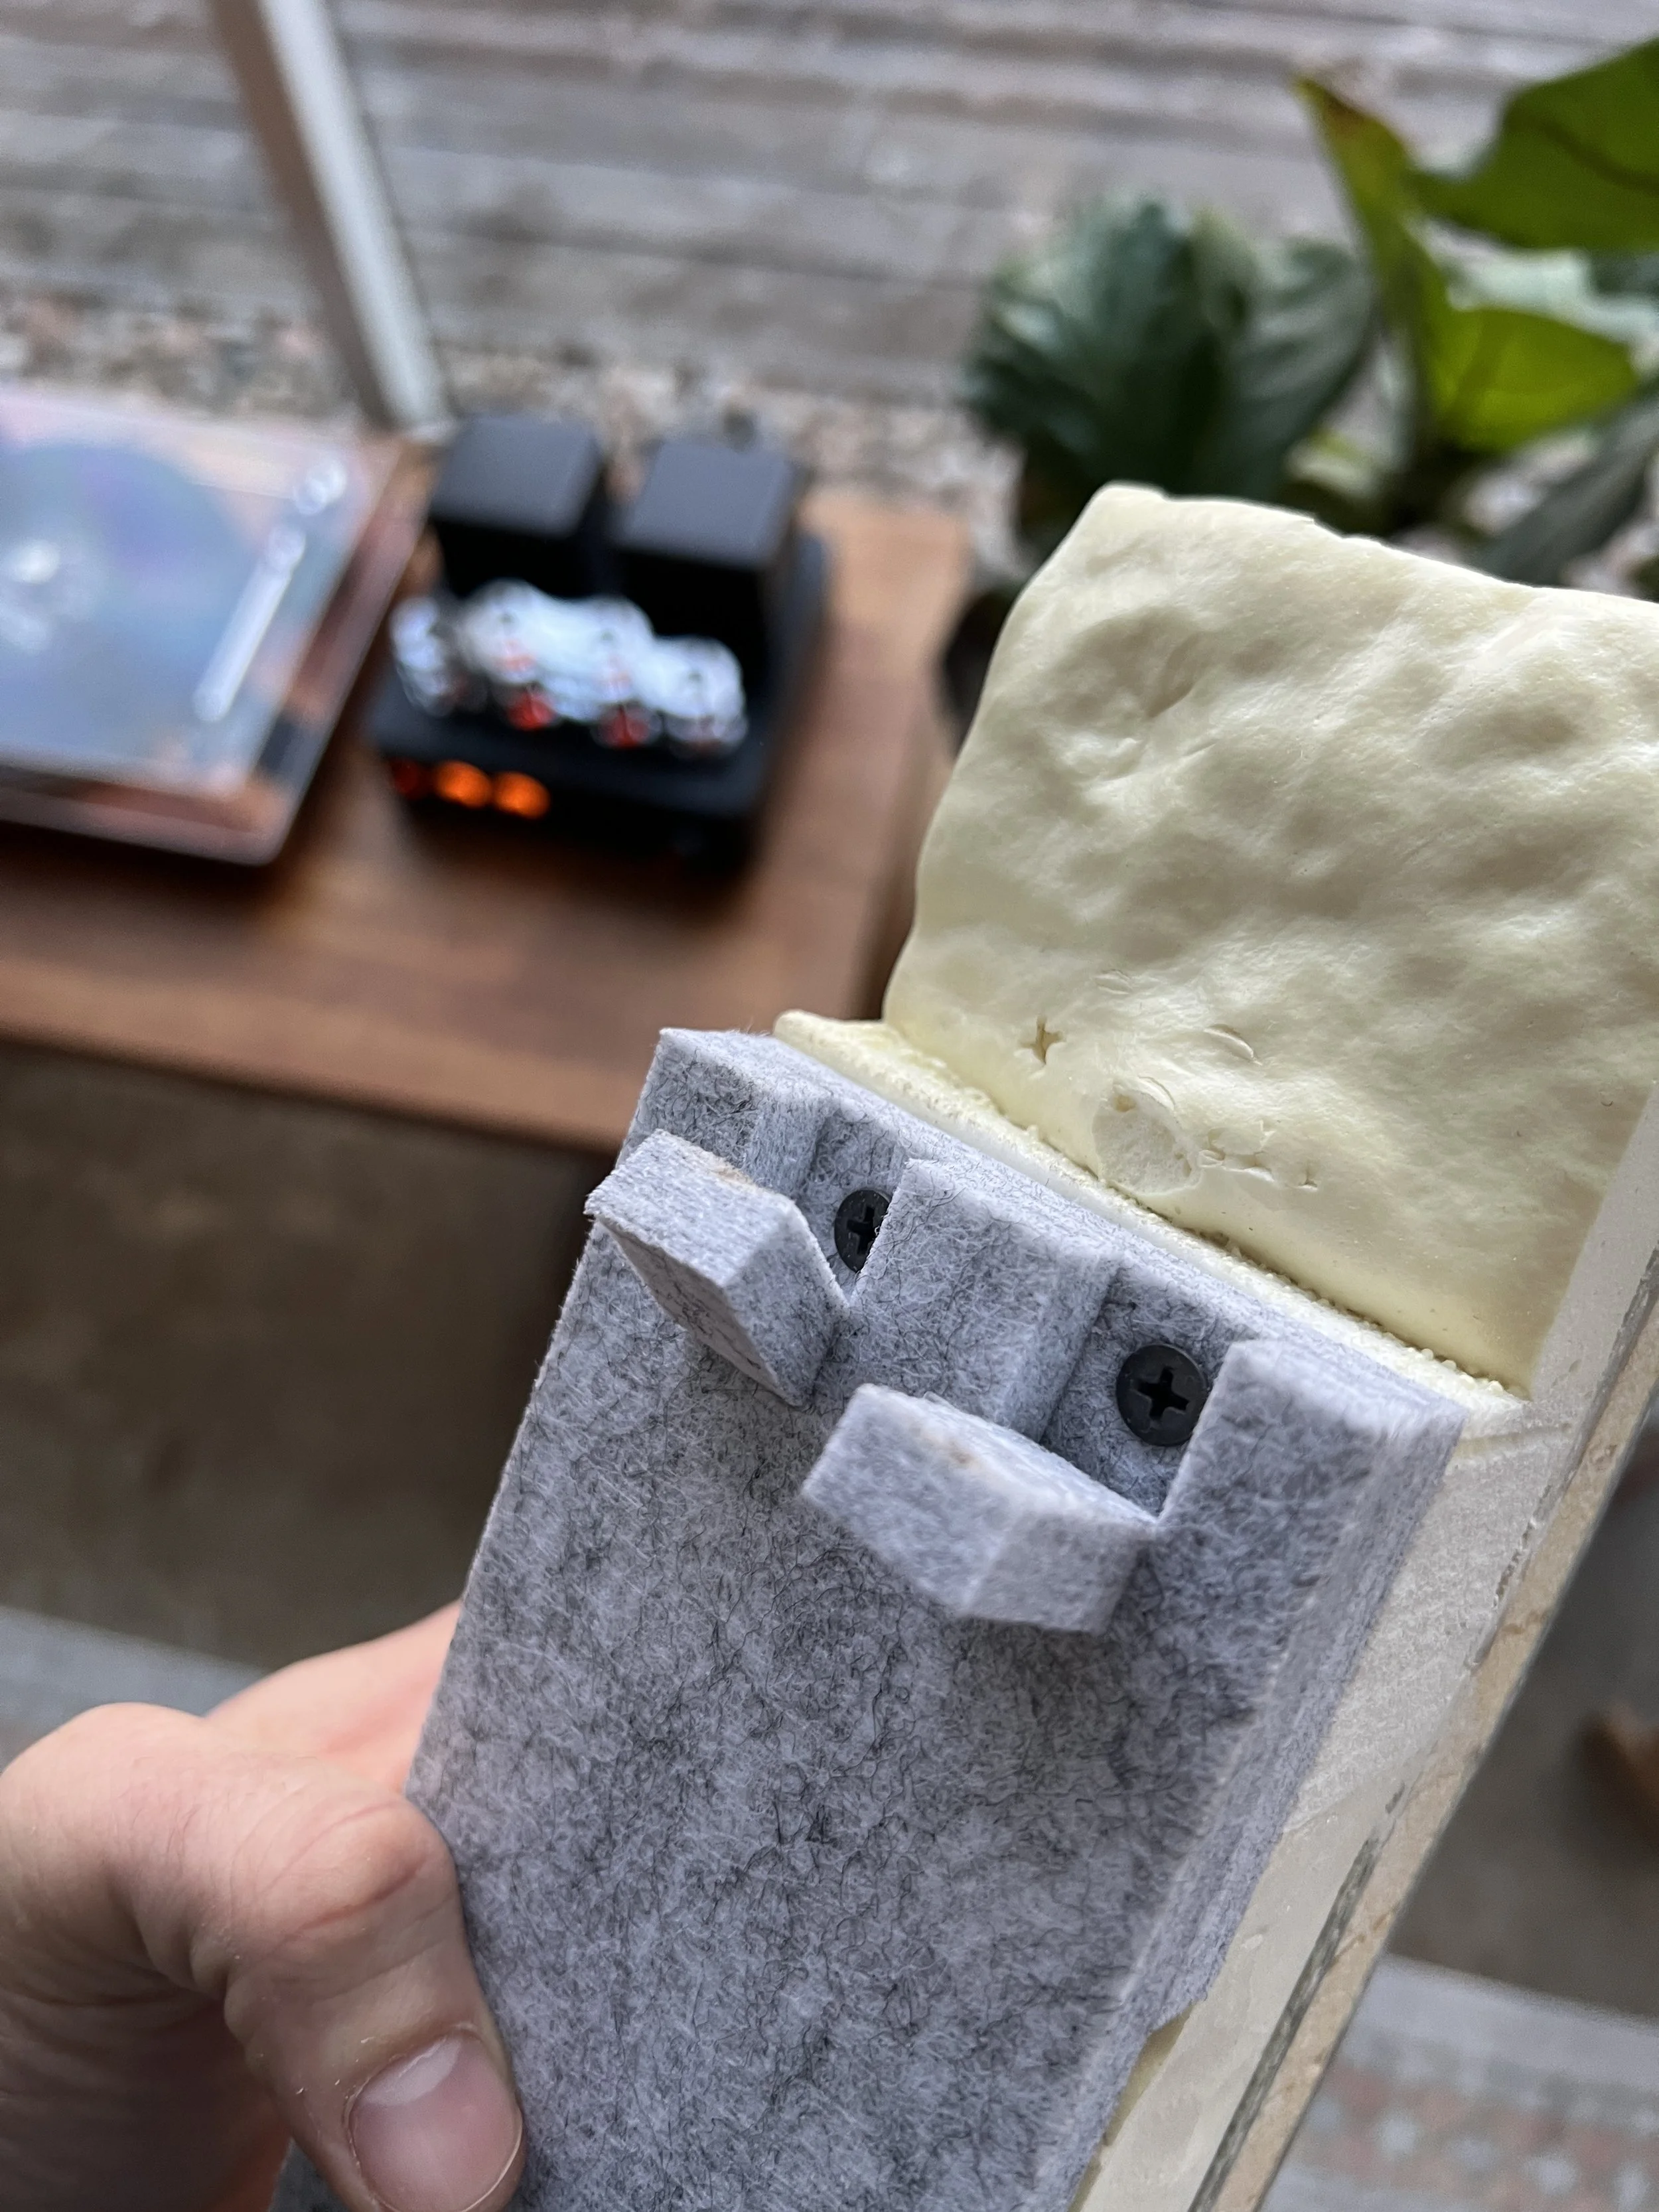
Each shell includes a limited number of PET structural foam furring strips. These strips are designed to be bonded directly to the interior composite shell and serve several purposes:
Creating space for electrical wiring, plumbing, and insulation
Providing a flat, predictable surface for attaching interior finishes
Acting as a thermal break between the interior finish and the exterior shell
In our DIY build, we bonded wood members to these PET strips, which gave us excellent fastening surfaces for cabinetry, wall panels, and trim. This hybrid approach—composite shell → PET furring → wood or metal framing—proved strong, quiet, and easy to work with.
PET structural foam is widely used in marine, aerospace, and commercial construction applications and offers a favorable balance of strength, weight, and thermal performance.
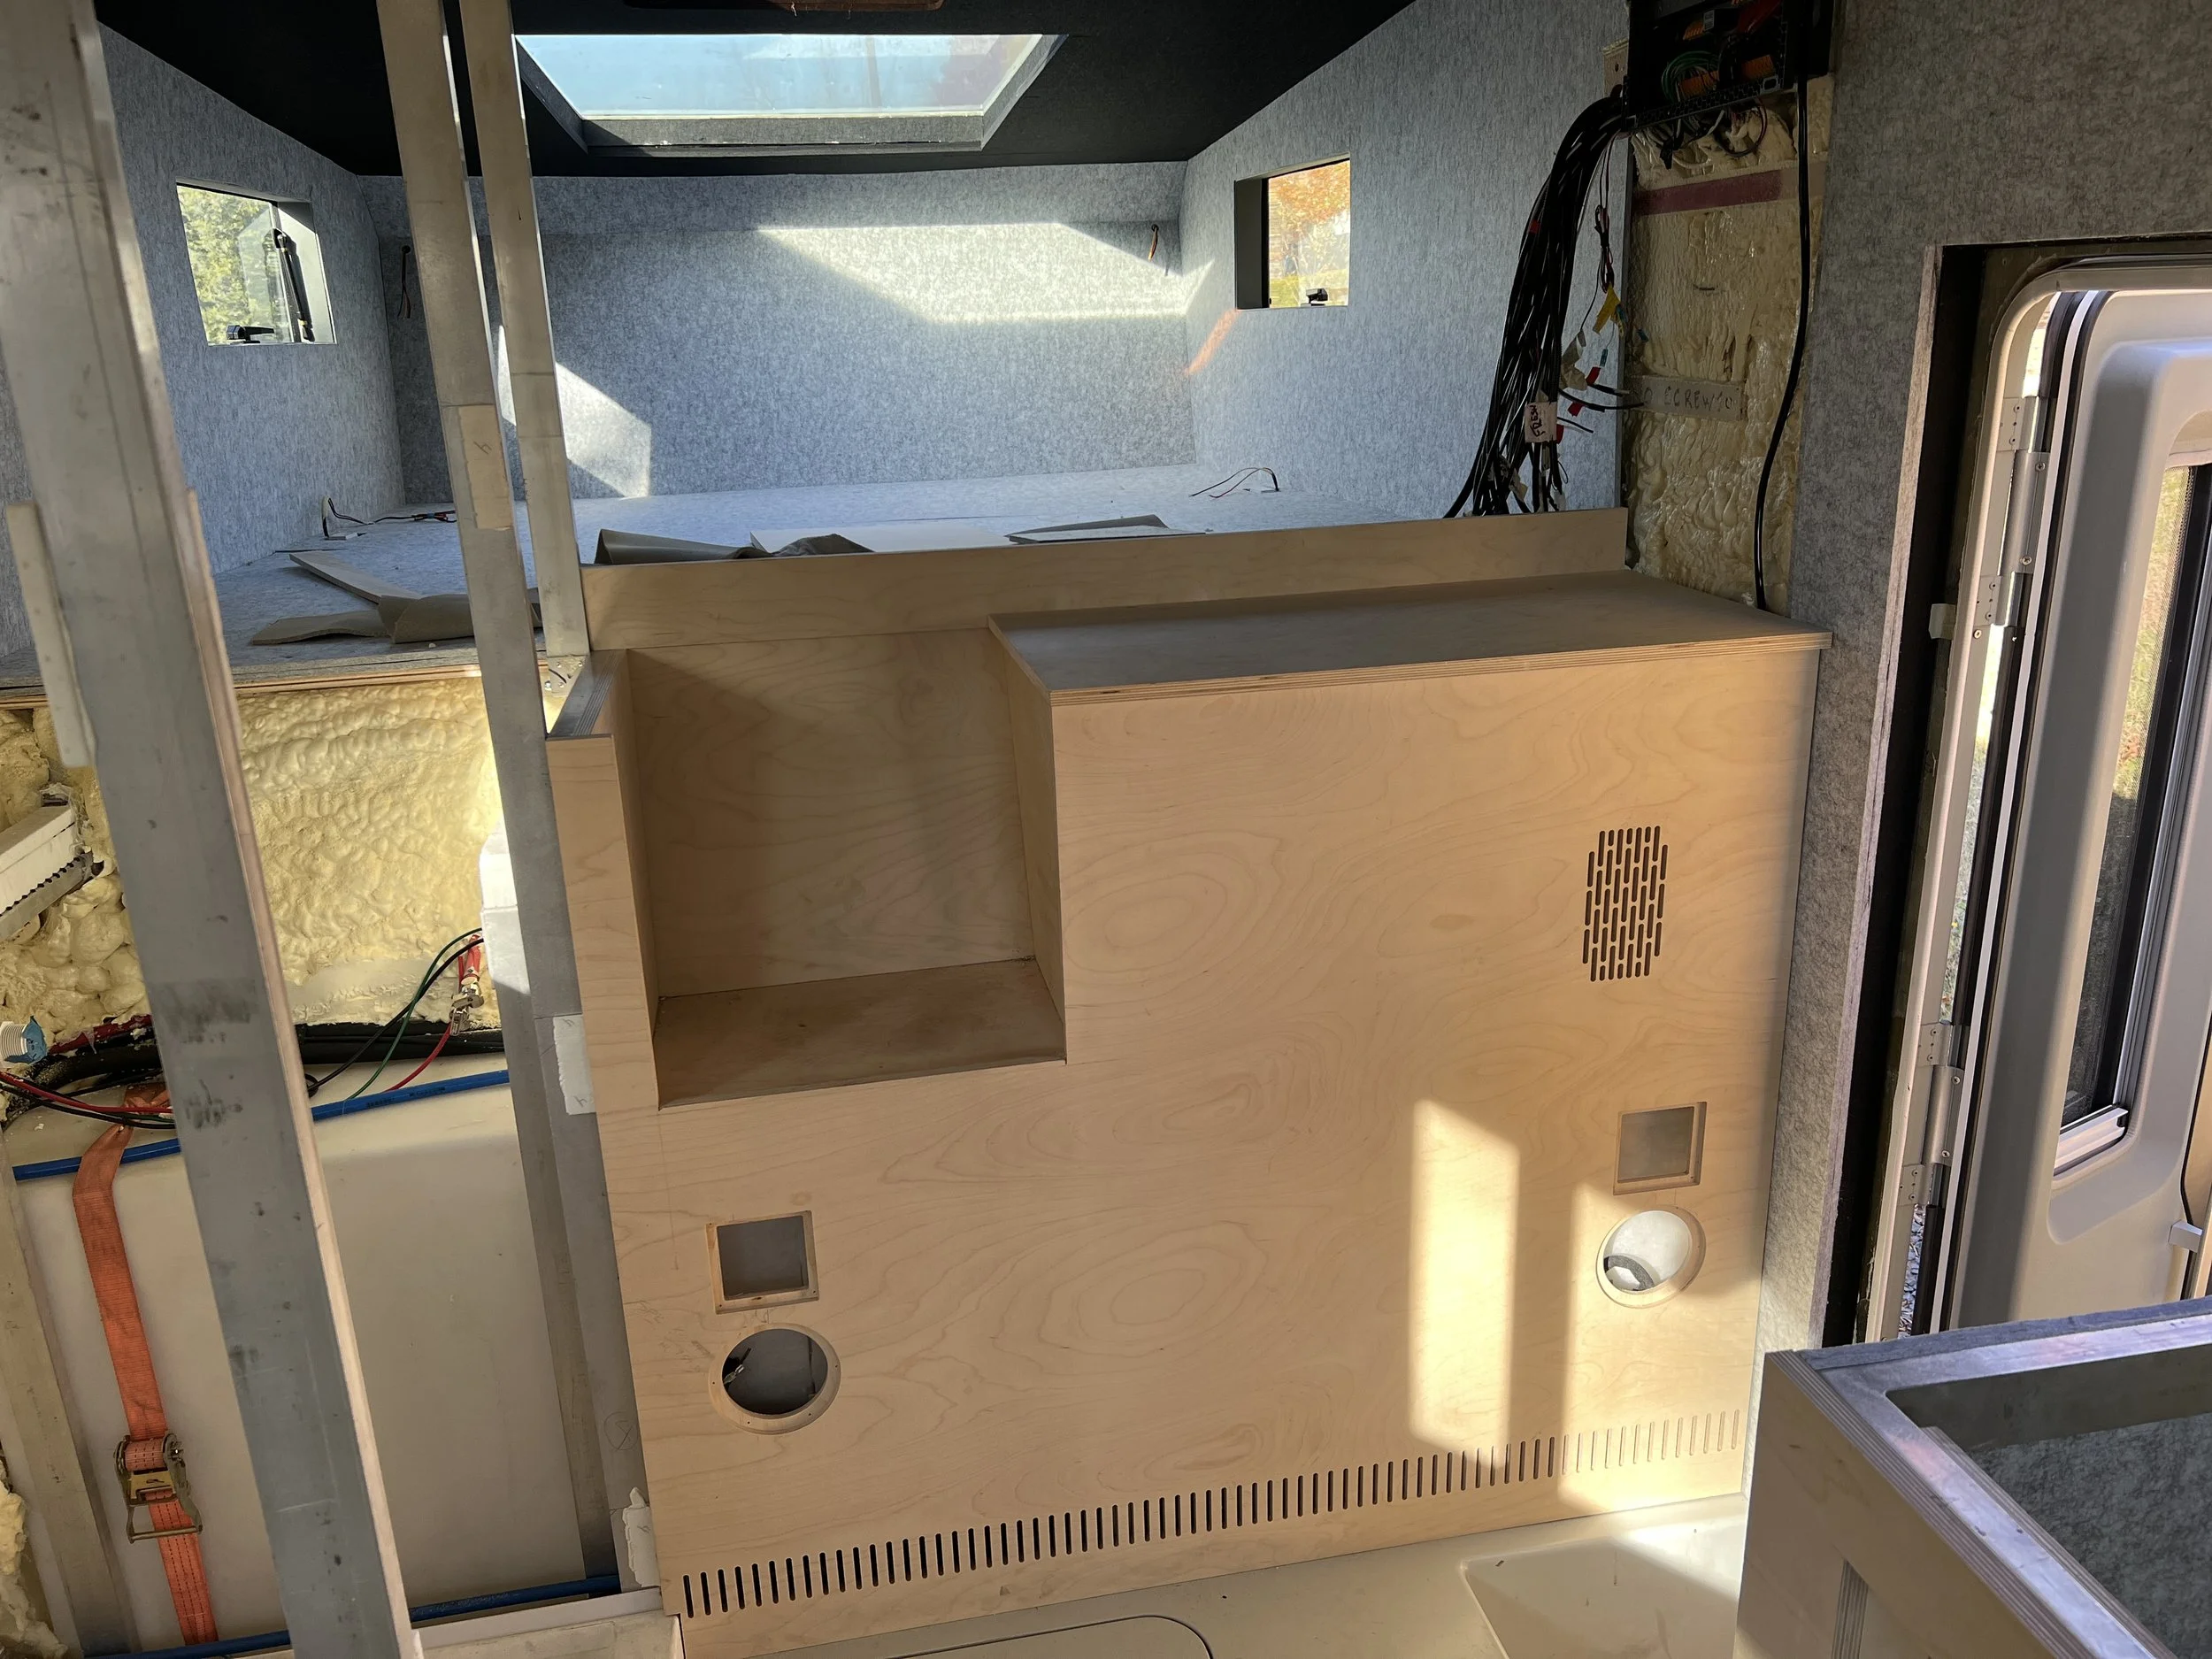
Interior Wall & Panel Materials
For wall finishes, we used 4×8 PET wall panels, commonly found in commercial and office interiors. These panels are:
Made from recycled water bottles
Lightweight and easy to cut
Moisture resistant
Quiet (excellent sound absorption)
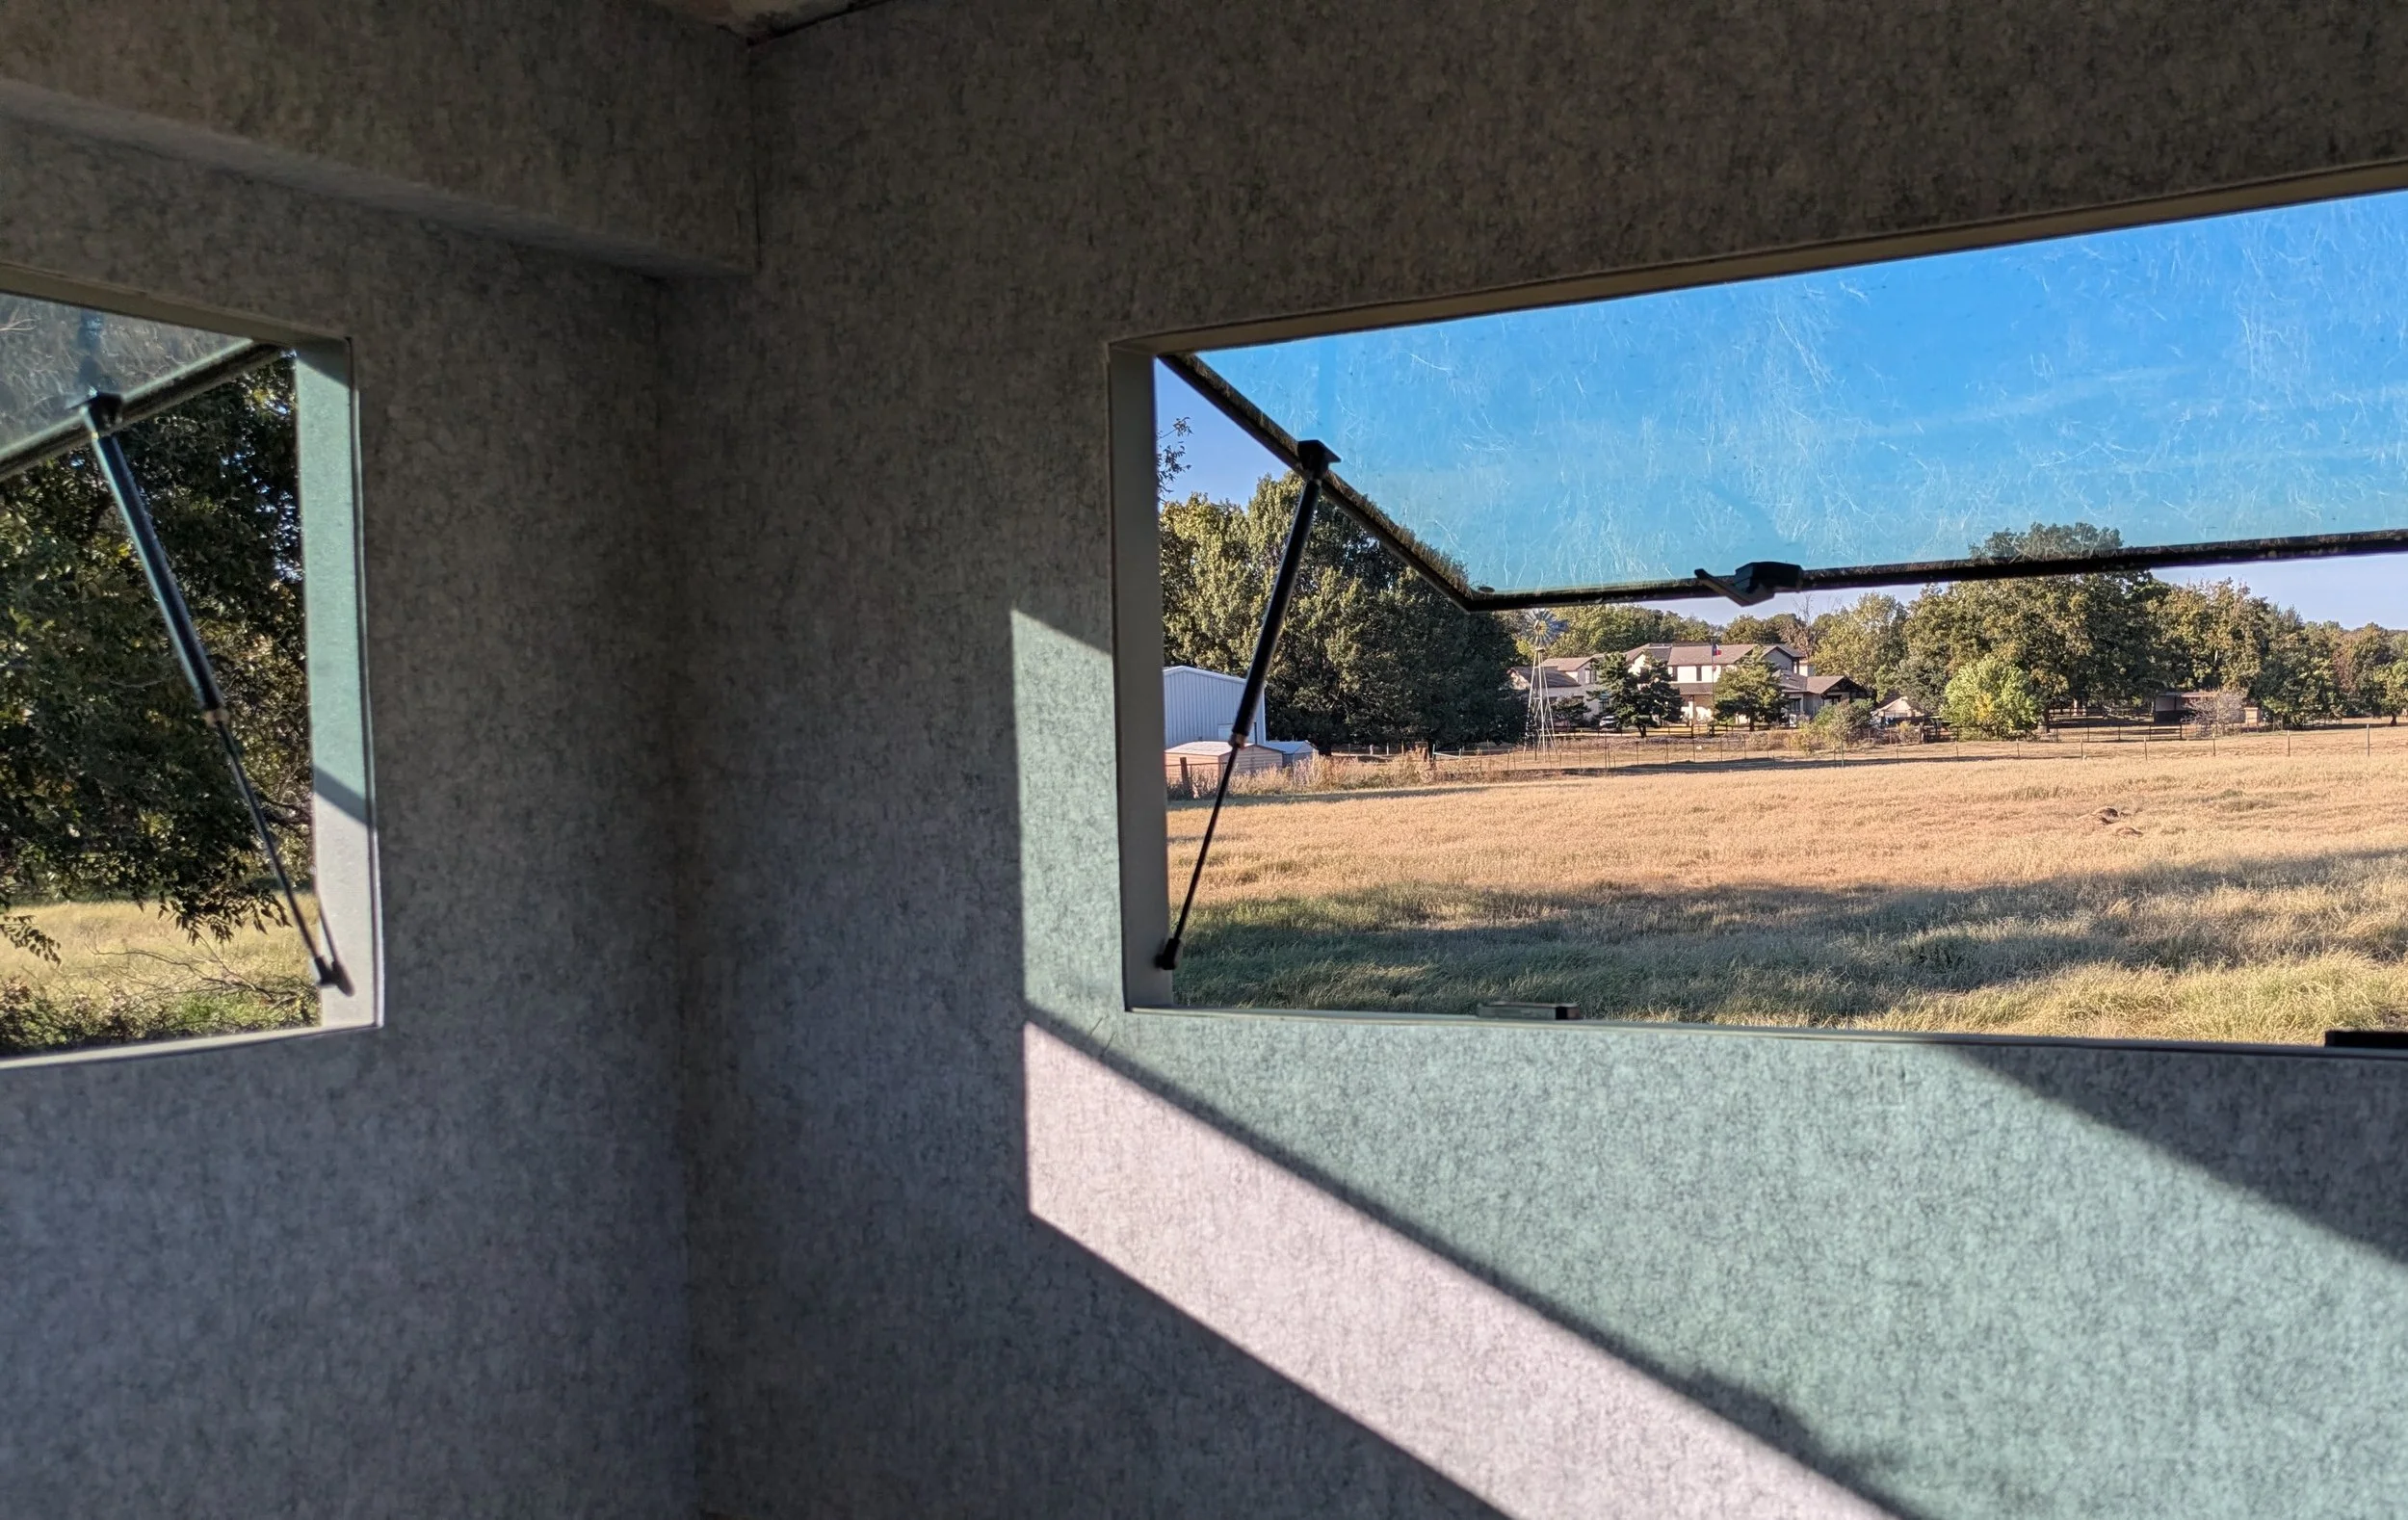
PET wall panels
That said, PET panels are only one option. Builders can also use:
Plywood or hardwood panels
Composite sheets
Laminated wall systems
Fabric-wrapped or modular panels
The shell is intentionally material-agnostic—choose finishes that match your durability, aesthetic, and weight goals.
Reinforced & High-Load Areas
In areas requiring additional strength—such as:
Kitchen modules
Cabover steps
Bathroom walls
Sink and fixture mounts
—we framed with aluminum square tubing. These frames were:
Mechanically fastened (riveted) to the interior shell
Locally reinforced with fiberglass
This approach creates highly rigid anchor points while maintaining corrosion resistance and minimizing weight. It also allows builders to isolate high-load structures from lighter wall systems elsewhere in the habitat.
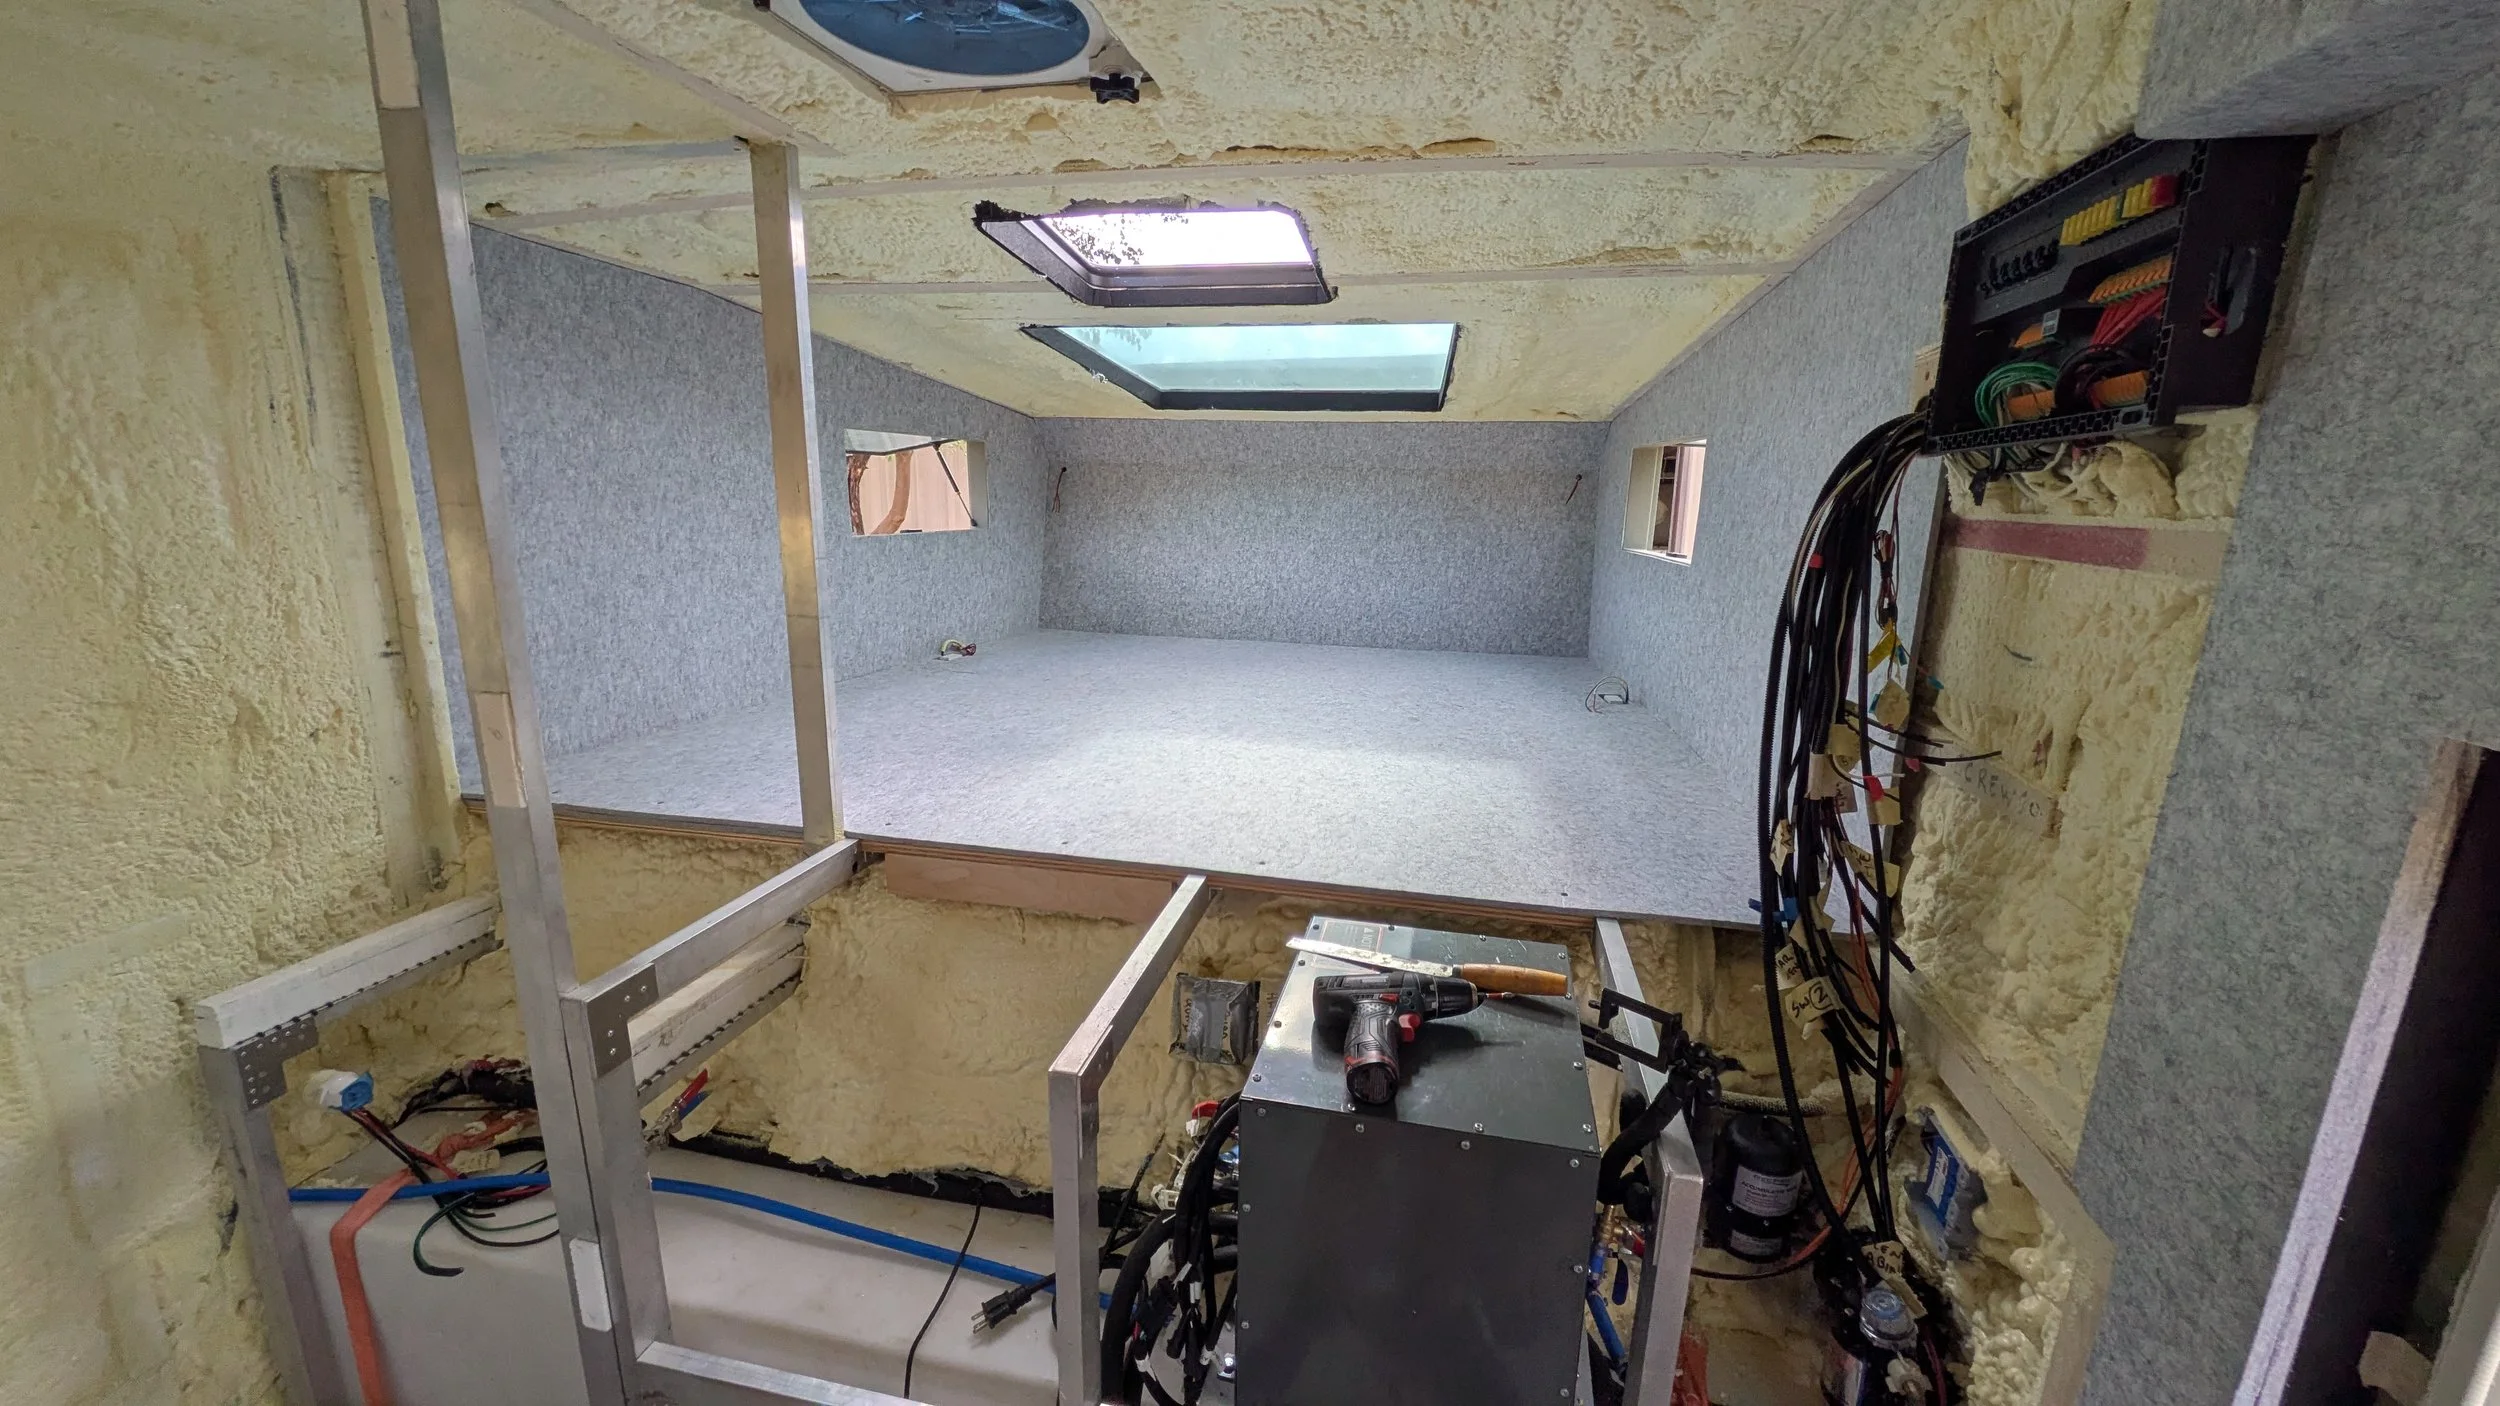
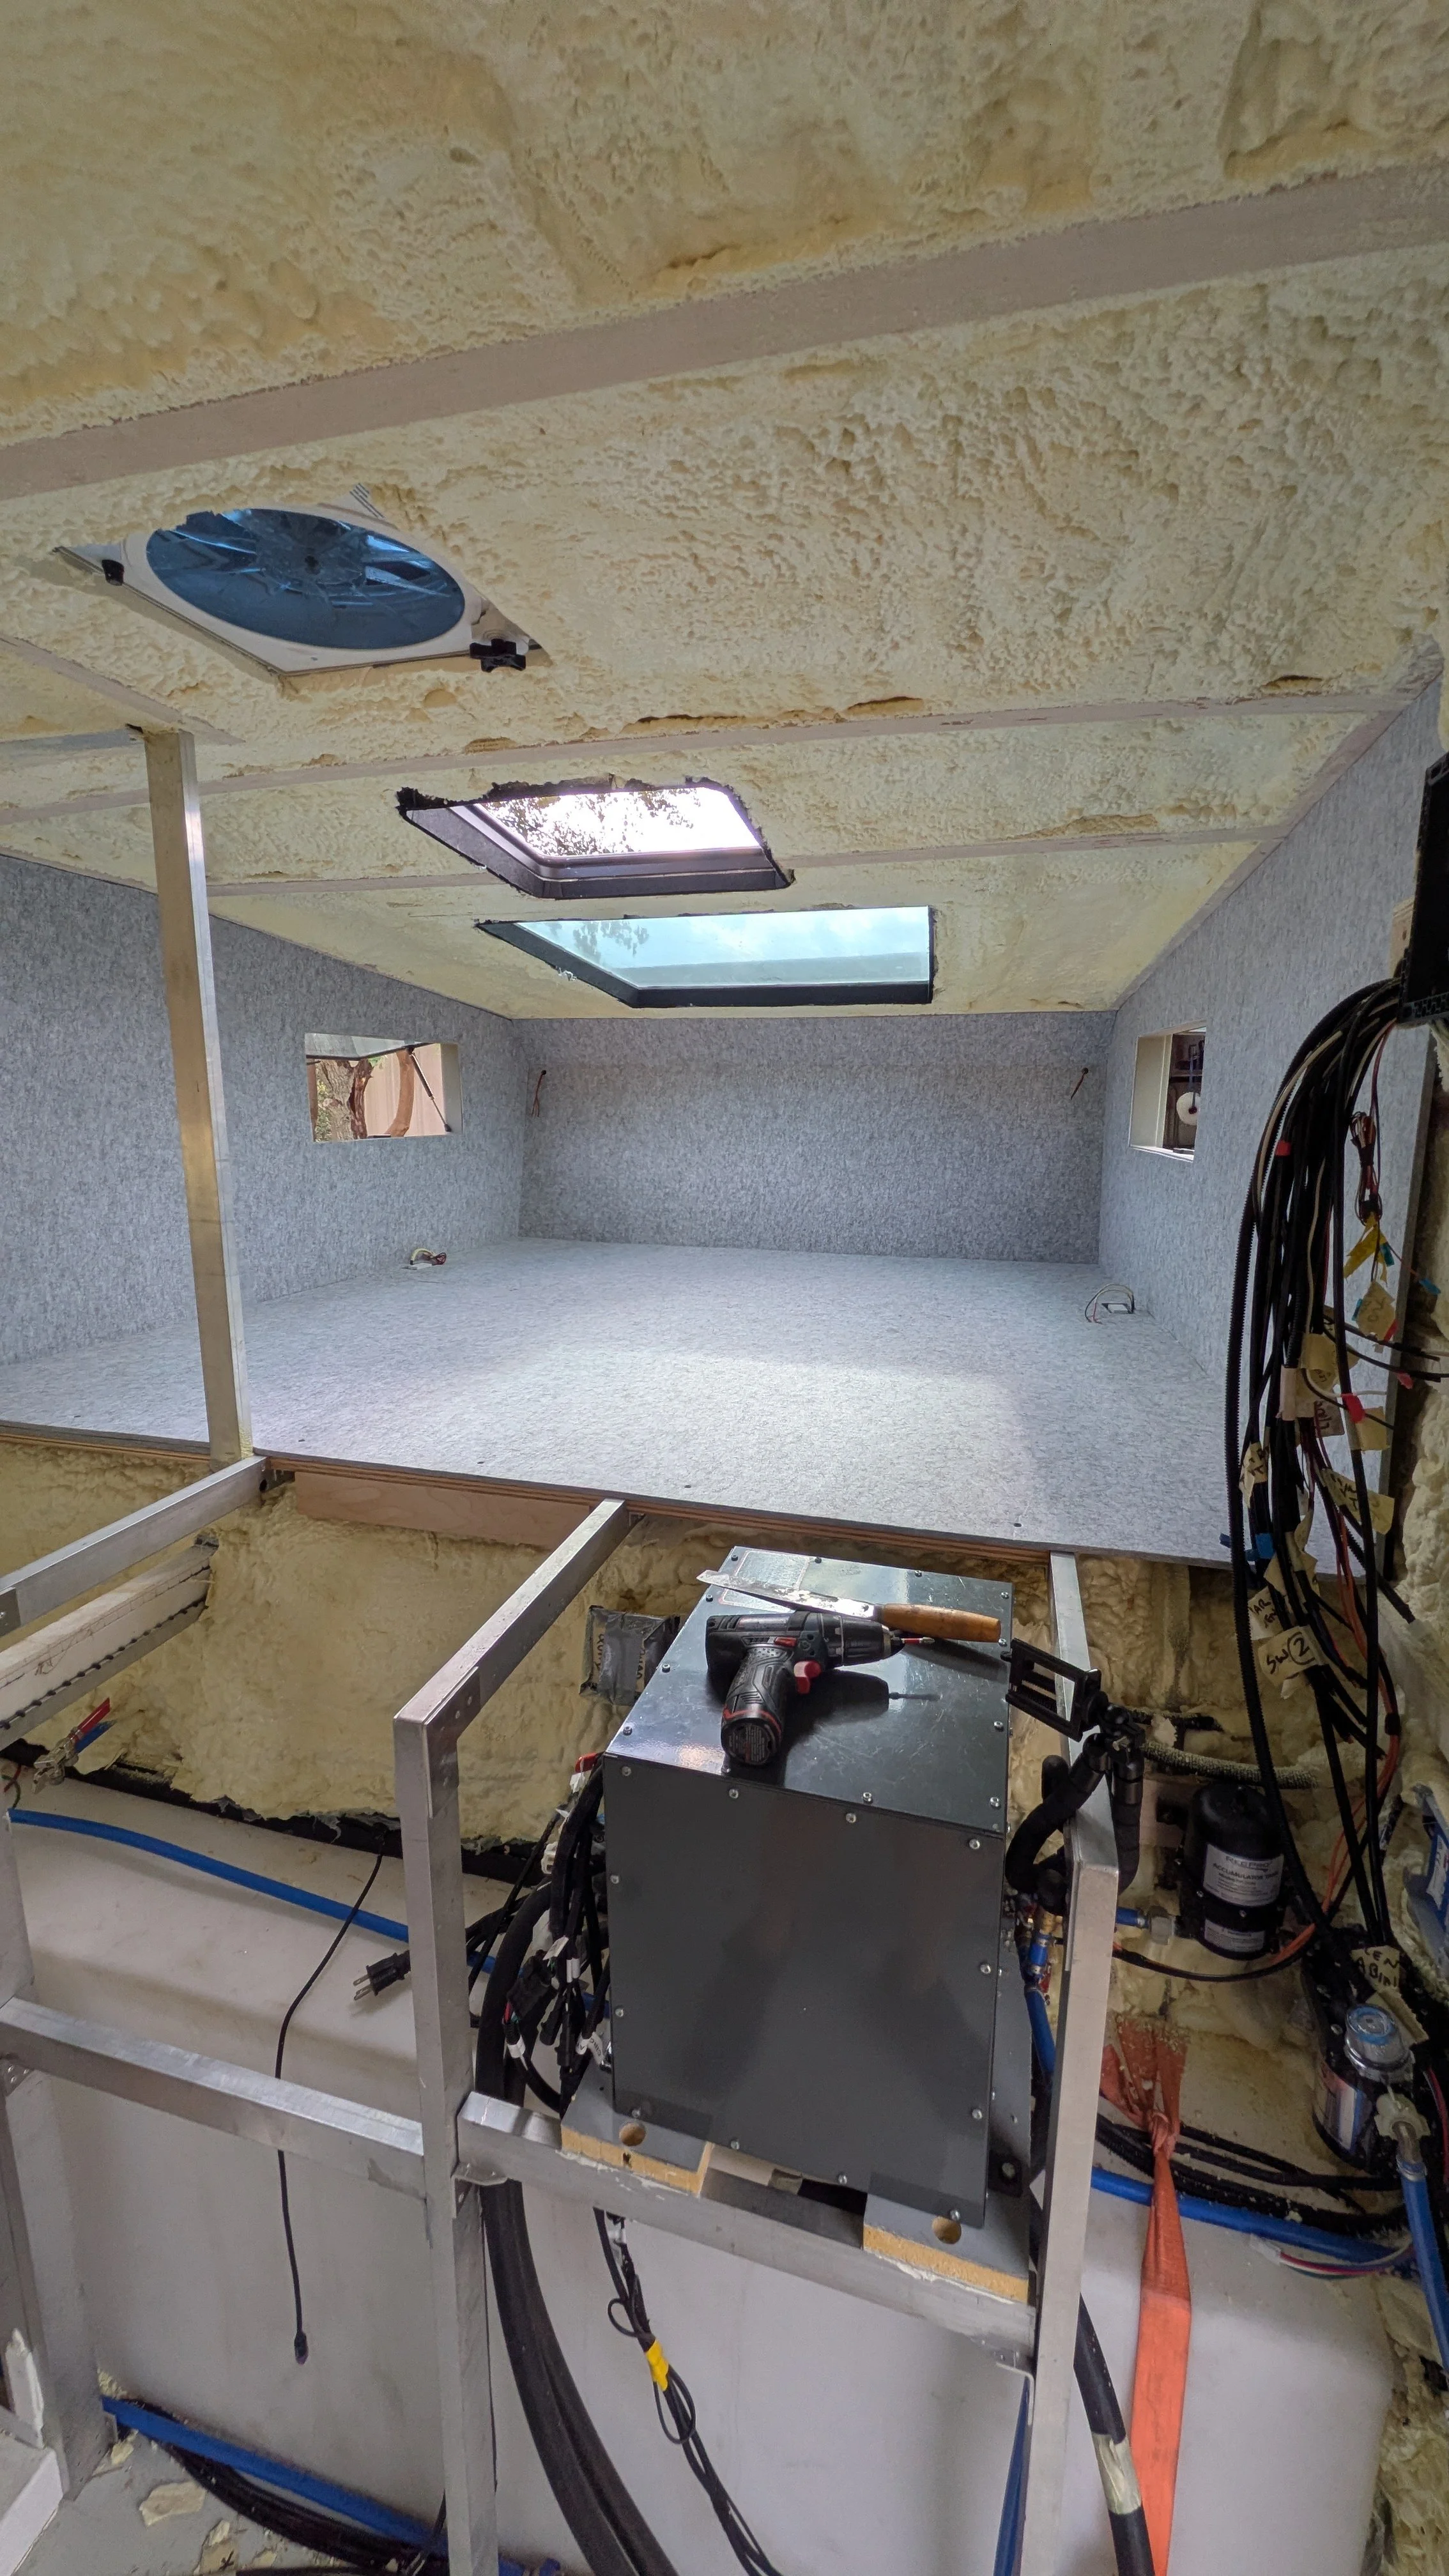
Insulation Strategy
For insulation, we chose closed-cell spray foam.
Why spray foam?
Creates an extremely tight thermal and air envelope
Adds structural rigidity to the overall shell
Supports interior components like pipes and wiring, effectively locking them in place
Excellent moisture resistance
Relatively affordable compared to high-end insulation systems
Trade-offs to consider
The primary drawback of closed-cell spray foam is permanence. Once applied:
Plumbing and electrical runs are effectively locked in place (this can be a downside when you have changes to make)
Future changes require physically removing foam
Because of this, careful planning of systems before insulation is critical.
Alternative Insulation Approaches
One of the key advantages of a DIY-oriented shell is the ability to tailor insulation to your intended climate.
Depending on your use case, you may choose:
Less insulation for hot or temperate climates
Thicker insulation for cold-weather travel
Advanced reflective or aerogel-based materials for extreme environments
There is no single “correct” solution—the right choice depends on where and how you plan to travel.
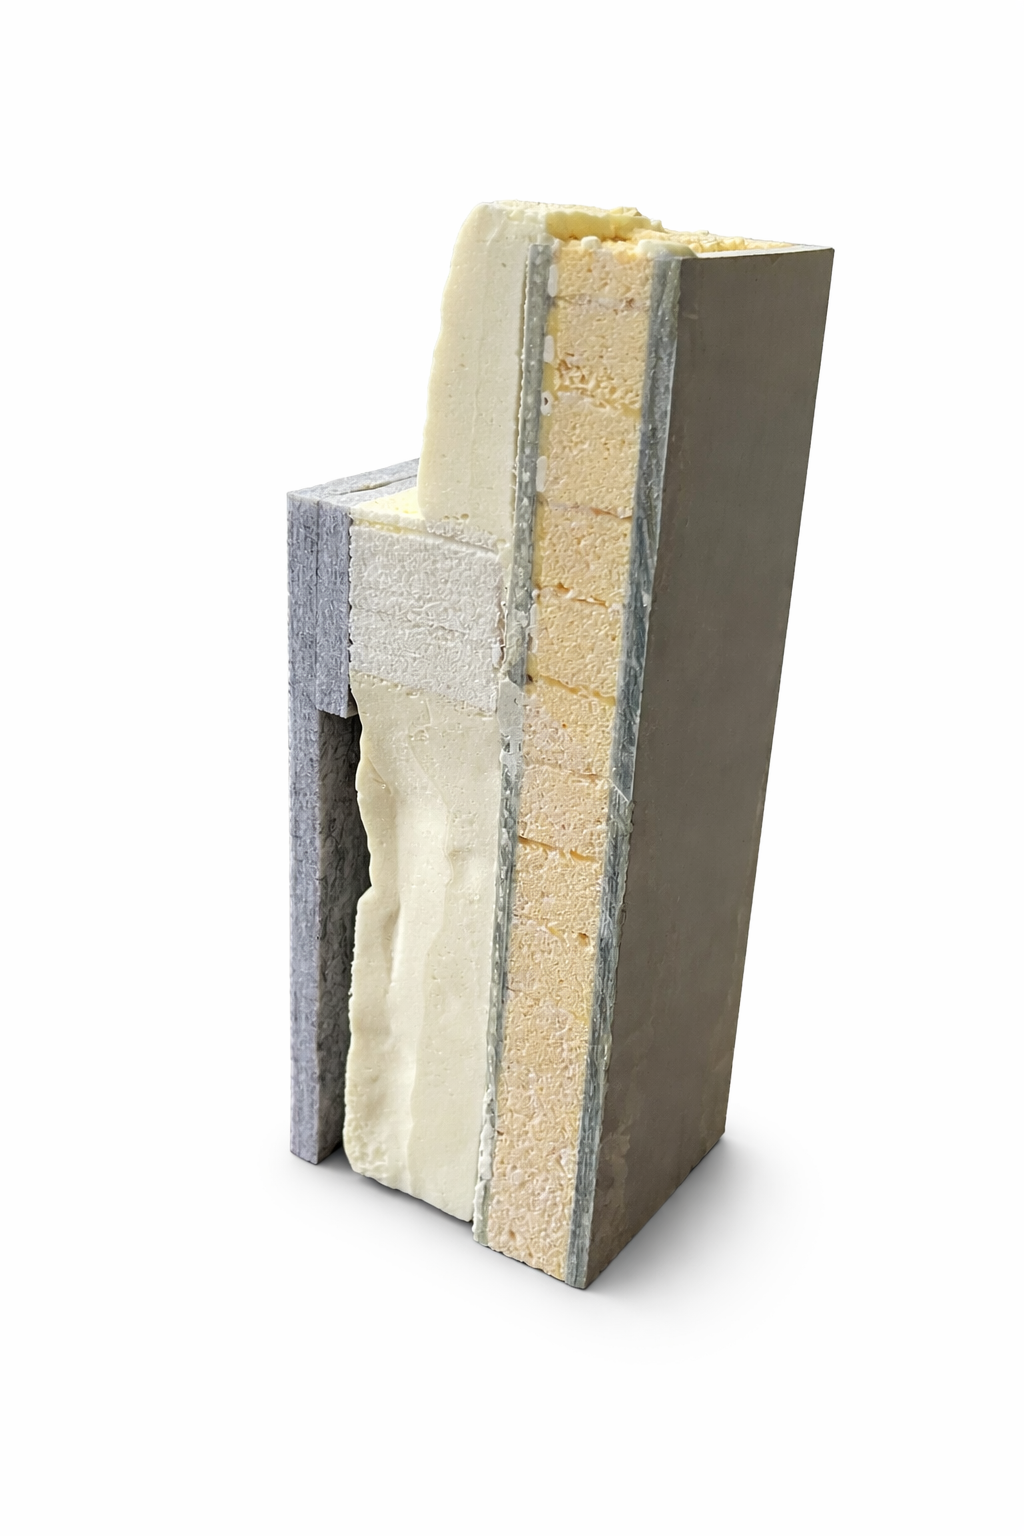
Estimated Thermal Performance
The Ever shell is designed to support a wide range of insulation strategies depending on climate, build style, and serviceability preferences. The following values reflect conservative, real‑world estimates based on a common DIY configuration.
Composite Shell (as delivered)
Approximate wall thickness: ~1⅜” composite sandwich
Estimated effective R‑value: ~R‑6 (shell only)
Closed‑Cell Spray Foam (our choice of insulation)
Thickness: 2” closed‑cell polyurethane spray foam
Typical performance: ~R‑6.0–6.5 per inch
Estimated contribution: ~R‑12 to R‑13
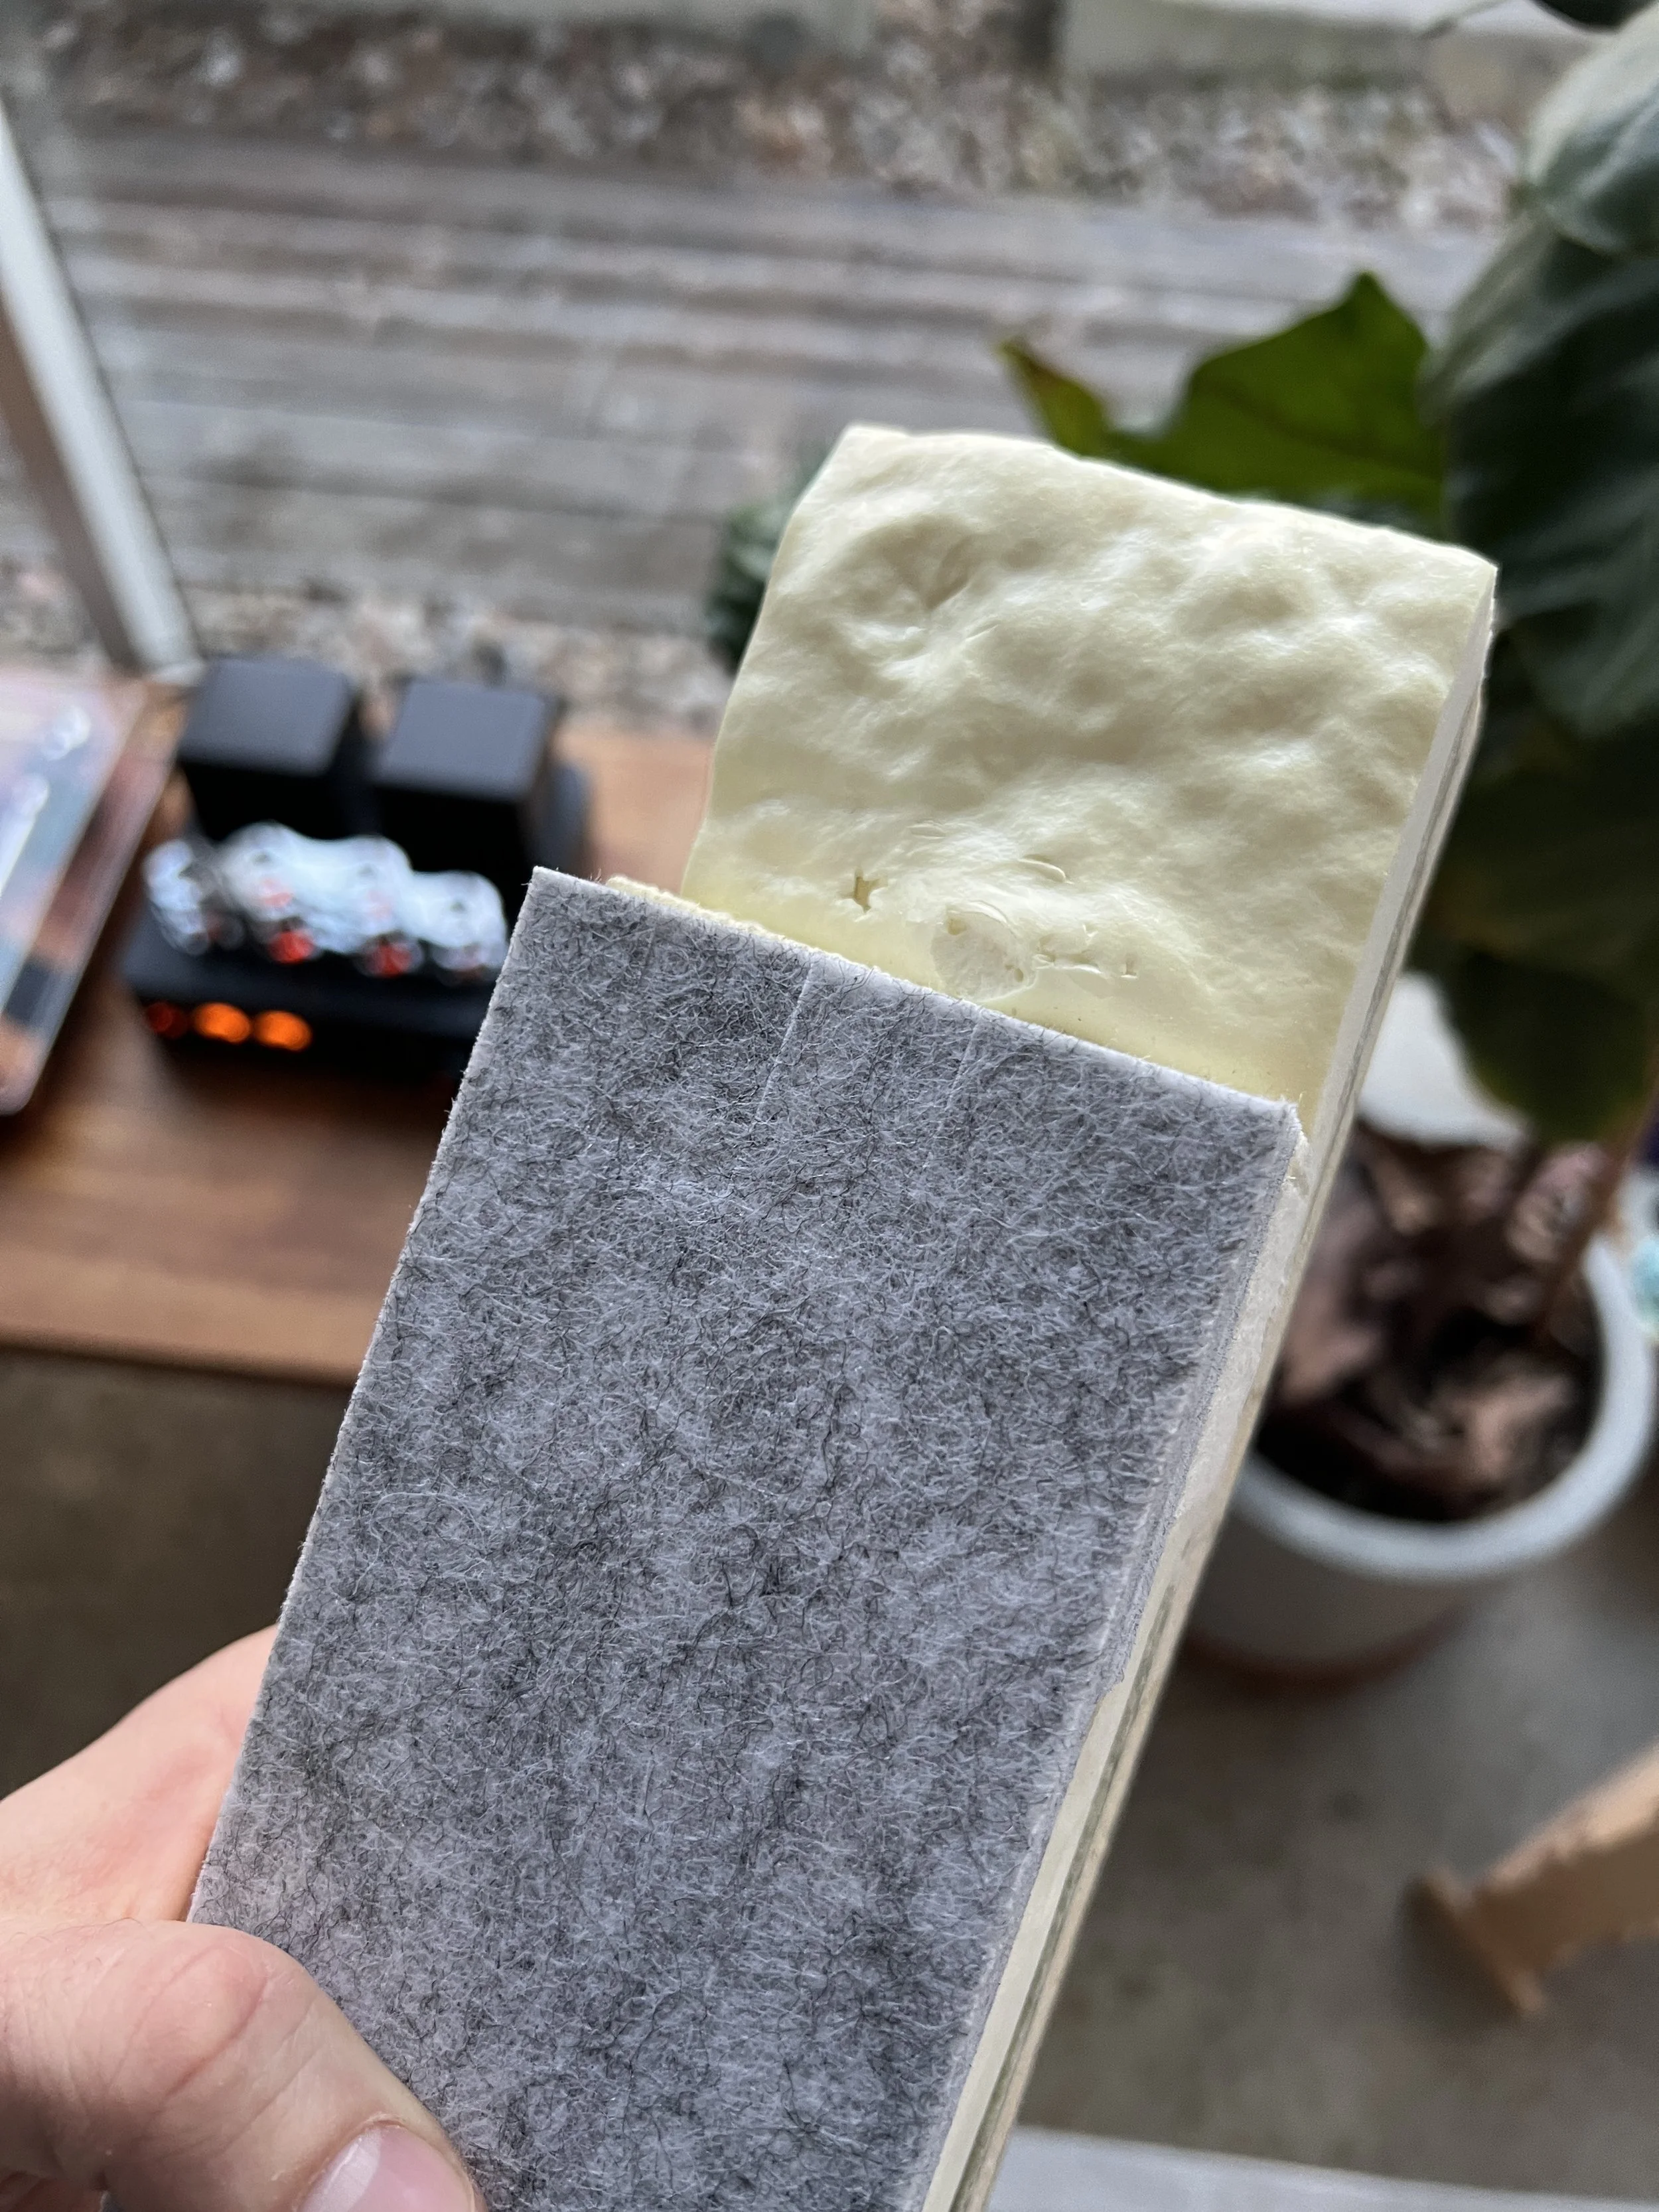
Interior Wall Panels
5/8” PET wall panels (recycled PET fiber)
Estimated contribution: ~R 3.4
In our application we created a “PET Sandwich” adding an extra layer of PET (used to hide screws) that created an air gap. This air gap creates and additional insulatory value.
Estimated Total Wall Assembly
Approximate combined R‑value: ~R‑20 to R‑23
Actual performance depends on insulation continuity, penetrations, framing choices, and climate, and these values are provided for planning purposes only.
Floor thickness: ~2”
Estimated thermal value: ~R‑10 to R‑12 (depending on core density and construction)
Because of the floor’s thickness and insulation value, finish flooring can often be applied directly. Some builders may choose to add:
Additional rigid insulation
A hydronic radiant heating system
Floating floor assemblies
Designed for Builder Freedom
The goal of this system is to offer the strength, weather resistance, and finish quality of a high-end monocoque camper—while preserving the freedom to build it your way.
Whether you’re optimizing for hot deserts, cold winters, or global travel, the interior framing and insulation strategy is intentionally flexible, proven, and builder-friendly.